This guide is for system administrators who want to connect their Kitchen CUT account to Xero. Once connected, you'll be able to automatically post approved invoices from Kitchen CUT to Xero as Bills to Pay.
Step 1: 🔌 Connecting to Xero
-
Go to
Settings > Marketplace > Accounts > XERO - Connect.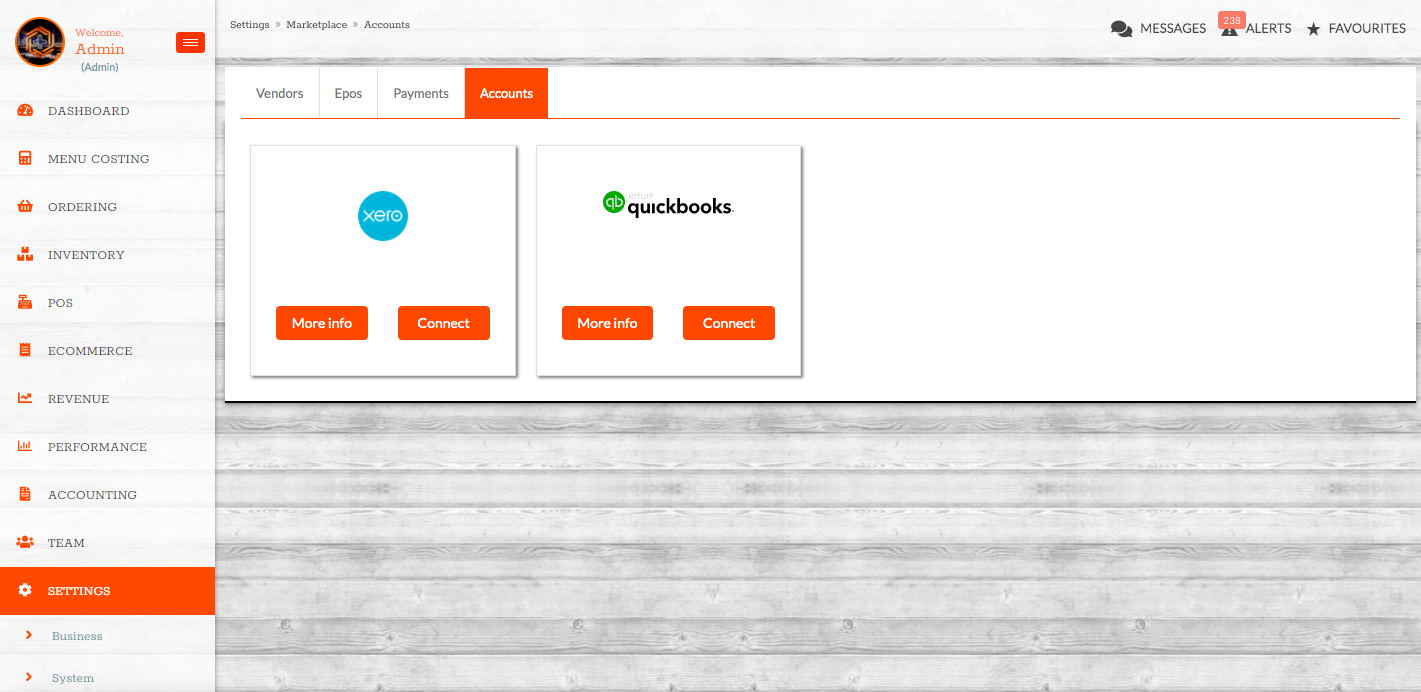
-
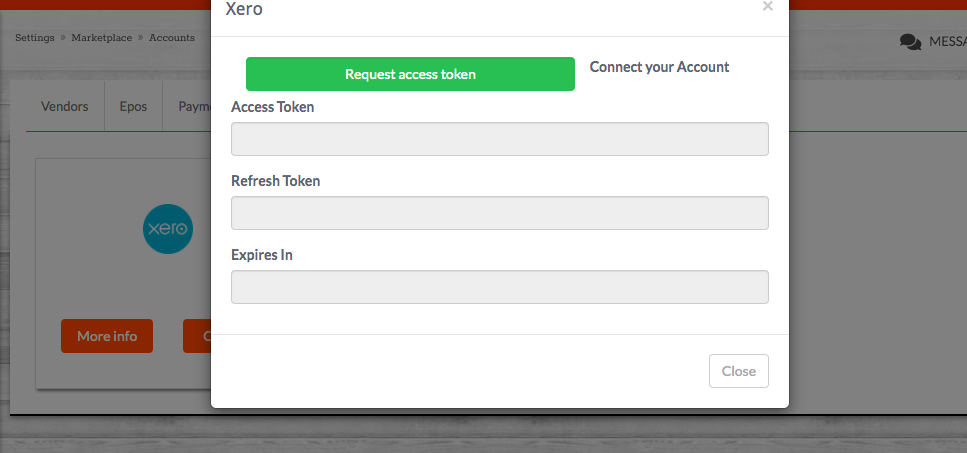
Click Request Token.
-
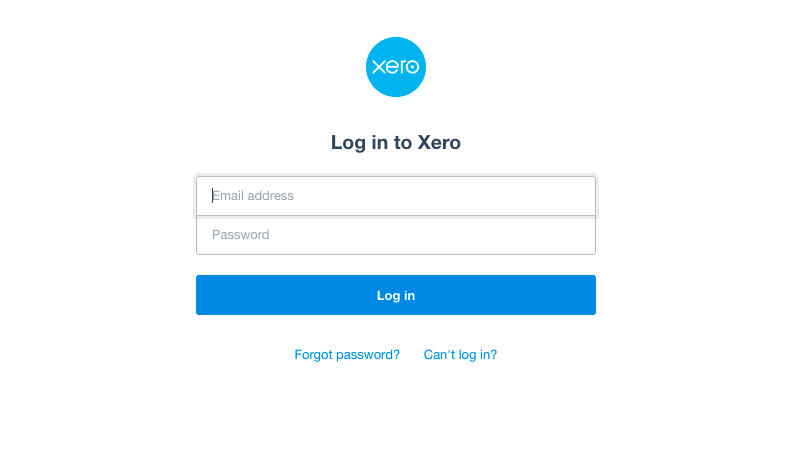
Log in to your Xero account when prompted.
-
Enter a name for the integration and select Create.
✅ The connection status should now show as live.
Step 2: ⚙️ Review and Configure Integration Settings
After connecting, navigate to:
➡️ Settings > System > API Clients
➡️ Xero should appear here with the status Valid.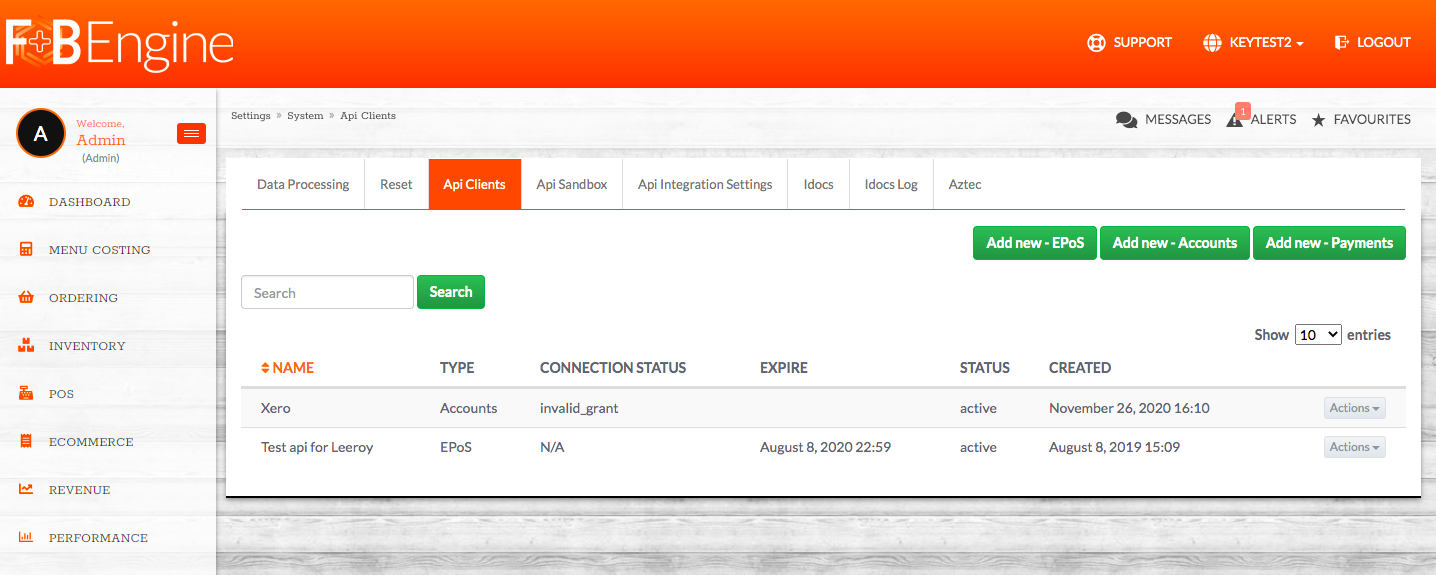
➡️ Under Actions, select External Settings.
Here, ensure Purchasing Categories and Tax Codes are correctly aligned with your Xero Chart of Accounts.
i) Purchasing Categories
You need to ensure your Kitchen CUT Purchasing Categories match Xero account codes:
-
Go to
Settings > Accounting > Purchasing Categories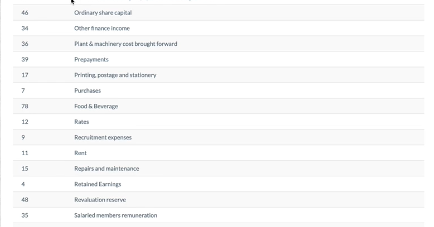
-
Confirm the Accounting Code matches your Xero account code
(e.g. Food & Beverage = 78)
Then, link these categories to product types:
-
Settings > Menu Costing > Product Categories -
Use Actions > Set Accounting Categories
-
Assign appropriate Purchasing Categories to each Product Category or Subcategory

.
📌 If not assigning by Product Category, you can assign default purchasing codes to each class via
Settings > Business > Purchasing Codes.
ii) Tax Classes
Your Xero tax class codes must also align: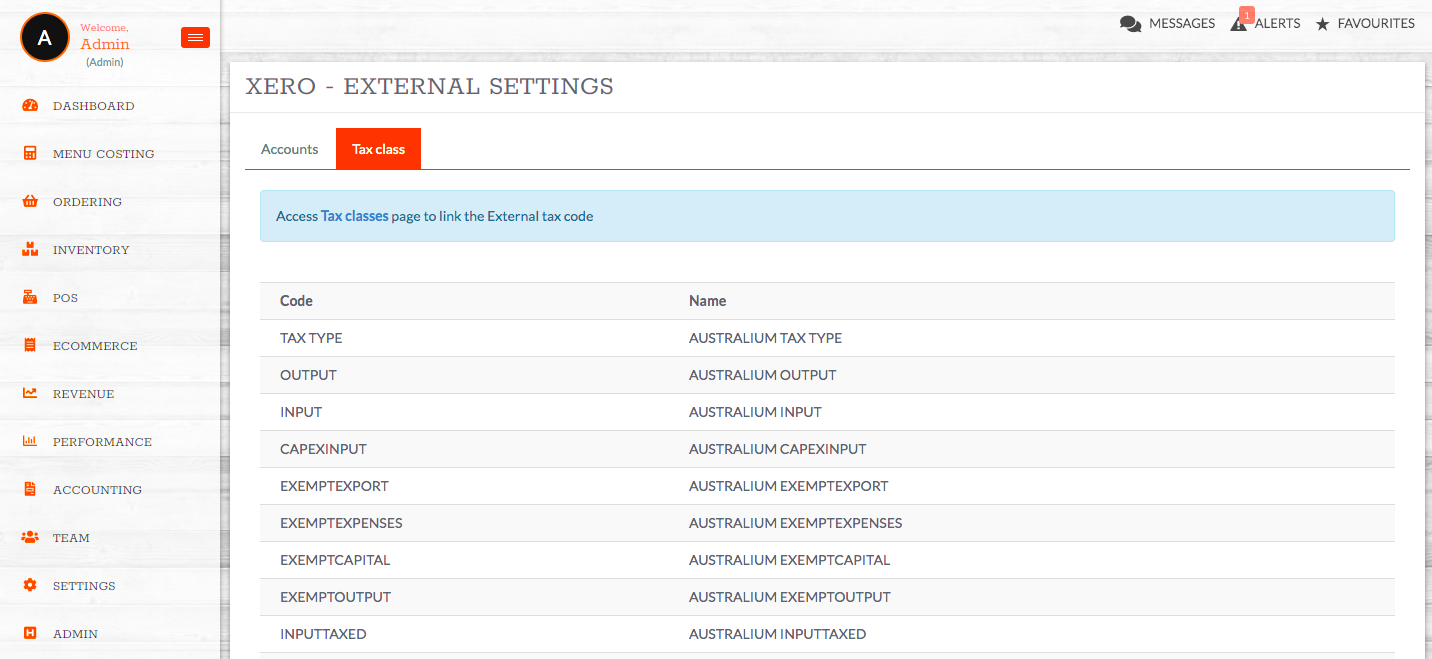
-
In Xero, review the tax classes you plan to use.
-
In Kitchen CUT:
Settings > Accounting > Tax Classes -
Ensure each has the correct Accounting Identifier.
📌 Every new category or purchasing class you create must match the corresponding Xero code to ensure data syncs correctly.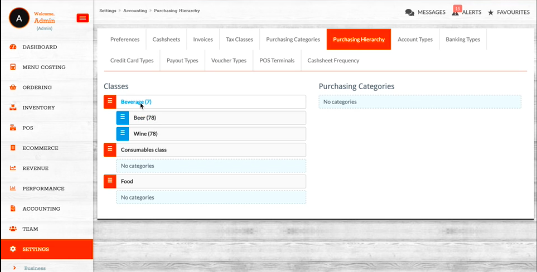
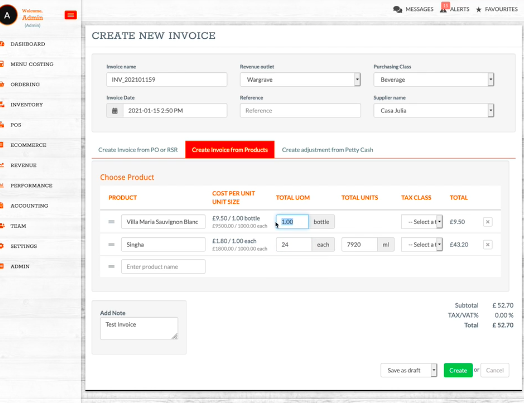
Step 3: 🚚 Posting Invoices to Xero
You can post data to Xero either by:
-
Creating a New Invoice in
Accounting > Payments > New Purchases,
or -
Approving an existing invoice and clicking Send to Accounts.
Once posted successfully, the Sync Status on the invoice will show Success.
To verify the sync:
-
Search for the invoice number in Xero under the Expenses / Bills section.
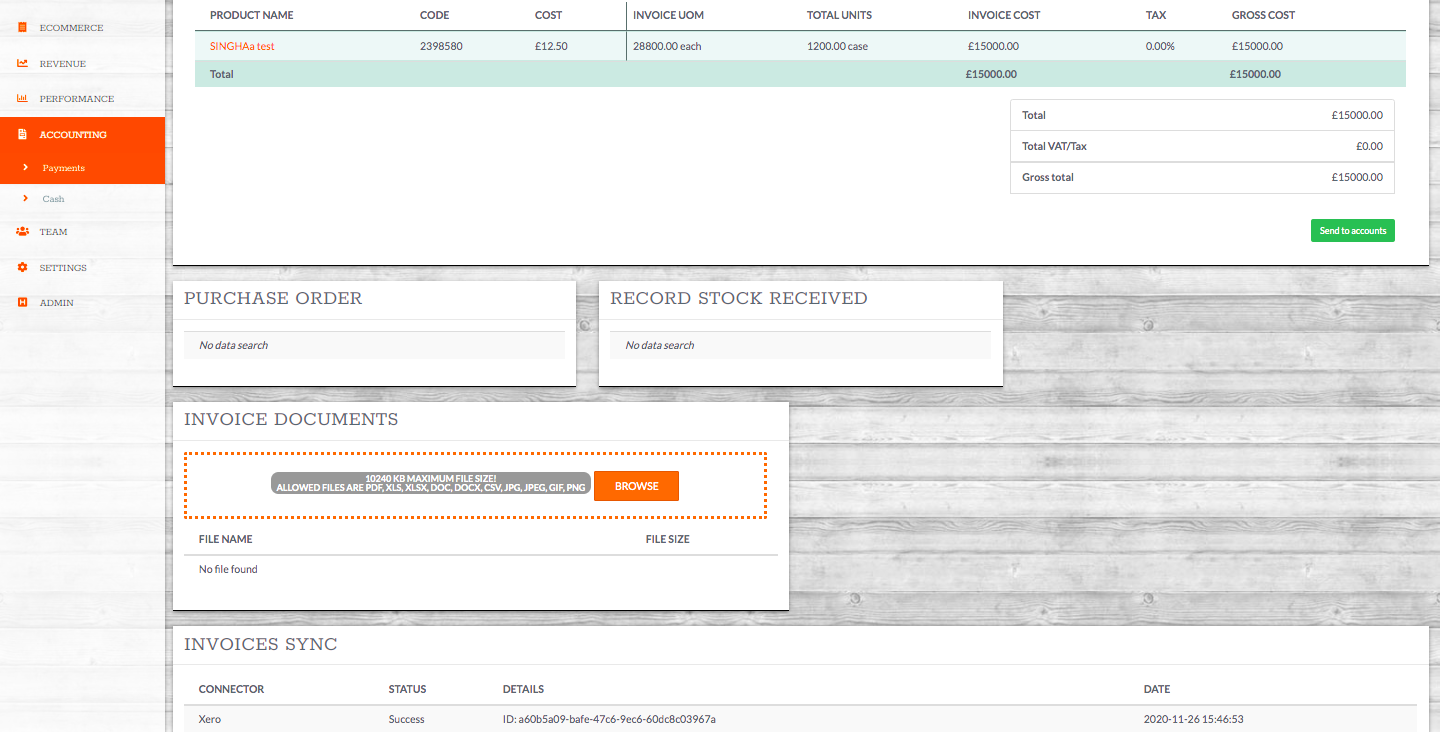 ✅ Double-check that all required fields have pulled through accurately from Kitchen CUT to Xero.
💡 Best Practices
- Make sure all Product Categories, Purchasing Classes, and Tax Classes are correctly coded before activating the sync.
- Use test invoices to verify successful posting before rolling out across your business.
- Maintain up-to-date codes in both systems to avoid mismatch errors.
❓ FAQs
Can I use this integration without setting codes for every product category?
Yes — you can use default purchasing codes via class-level settings if product-level setup is not needed.
What happens if a code doesn’t match?
The invoice will fail to sync and the sync status will indicate an error. You’ll need to correct the code mismatch and retry.
Does this integration support credit notes?
Only invoices are supported for now. Manual credit reconciliation would need to be handled separately in Xero.
🆘 Need Help?
📧 Email us at support@kitchencut.com
📝 Submit a support ticket