Recording Waste
Tracking and recording waste is important. This allows you and the your teams to not only record exactly what is being wasted, as well as the associated cost of that waste, but it can also allow you to see why the wastage is happening.
Food waste is a global issue but there are many actions businesses can take which will drastically reduce their amount of wastage and save them a vast amount of money as a result!
At Kitchen CUT we believe that to properly manage your food and beverage waste you need to be assessing some key factors;
- What are you wasting?
- When are you wasting items?
- Being able to track products, bulk recipes, dishes and menus accurately
- What is the exact cost of this wastage?
- Why has something been wasted, what are the reasons behind this?
NB:- the most important factor is the why. In Kitchen CUT you can track why waste is occurring so that you can see trends and patterns in the way the teams operate and then you can take the necessary action to implement any changes to the way your teams work to prevent as much waste occurring in the future!
All of the above can be easily recorded in Kitchen CUT and will create reports so that you and your teams can review and act on reducing any wastage.
Creating Area / Outlet Wastage Reports
- Click on “Record waste”

OR
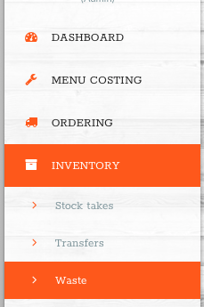
- Go to “Inventory” > “Waste” > “Wastage”

- Then Click “Add New”

INPUT:
- Wastage Name - Give the report a memorable name (e.g. week commencing 23rd June, or May 2018 if waste is recorded in Kitchen CUT on a monthly basis)
- Select the “Revenue Outlet” and “Stock Zone” (if applicable) where the wastage has taken place (NB: this is important if you are using Kitchen CUT’s stock/inventory management system as this will deplete the stock from that area as wastage occurs)
- Choose which “Inventory Type” it needs to deplete from (Food, Beverage or Consumables)
- The date will auto-populate as today’s date but if you need to change this you can edit this
- Under “Food Source” click on the drop-down menu and select one of the following depending on what the item was that was wasted:
- Product
- Recipe
- Sub Recipe
- Menus
- Total weight - this is a free field to allow you to record the weight/cost of the wasted item
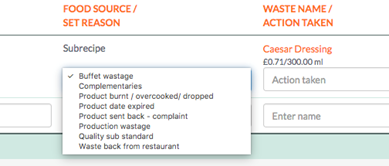
- Then search and choose in “Waste Name”
- As soon as you do this you can then choose from the “Set Reason” drop down menu (we have pre-populated these reasons, however you can add, edit, and delete in “Settings” under “Wastage Reasons”
- You can then add any action taken or as mentioned above, add manually if you wish and then adjust the amount/quantity
- From this information, the system will then create a list/report of all the wastage you have selected that you can then view, analyse and edit where necessary
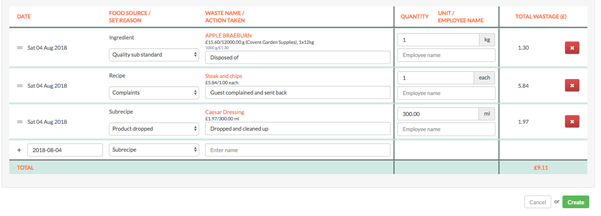
- You can then click “Create”
How do I deplete from stock?
If using Kitchen CUTs full stock management system and are also purchasing and receiving stock through the system and you have your EPOS connected to Kitchen CUT, you will need to deplete the wastage items from your stock to ensure that the system’s theoretical counts are correct for each item.
The way you do this is:
- Once you have created your wastage report (as per the above steps)
- Go to “Actions”
- Choose “Deplete from stock”
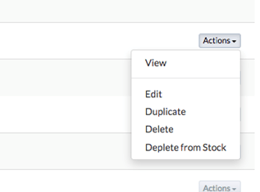
- This will then deplete from stock from the outlet and stock zone you specified within the wastage report
NB:- It is advisable to run a weekly wastage report and deplete from stock each week OR before every new stock take/inventory count to ensure waste is removed from your stock and your readings are accurate.
How do I consolidate my wastage %?
If you want to compile multiple wastage reports into one report you would need to consolidate them:
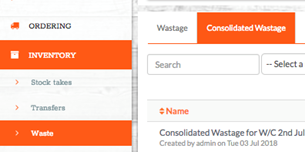
- Go to “Inventory”
- Click on “Waste”
- Click on “Consolidated Wastage”
- Click on “Add New”
- Give the report a name (i.e. Consolidated Outlet Wastage Report May 2019)
- Choose Revenue Outlet
- Search for the wastage report names in “Enter Wastage Routine” and add (you can add as many as you like as you are consolidation multiple reports)
- Click “Create”
This will then give you a detailed report with graphs outlining the different reasons for all your waste combined
You can now review this with the team and look for patterns and trends in this report and decide on ways in which you, as a team can reduce/improve your wastage going forward